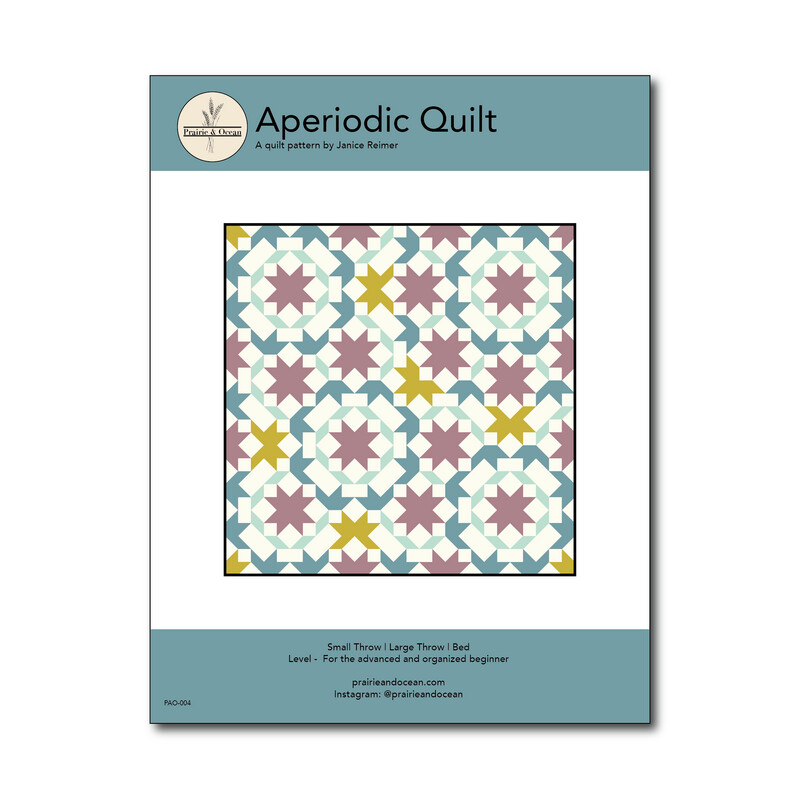
Aperiodic: How I quilted the same quilt three different ways
November 6, 2022
One quilt - three different quilting designs
One of the hardest parts about the quilting process for me is deciding how to quilt my quilts. My mind just goes blank. It's as if the creativity budget got maxed out from the fabric pull and making the quilt top and then there's nothing left for the actual quilting. Now with releasing Aperiodic, I had three samples and so I tripled the problem. How do I quilt the same quilt three different ways? As one of my favourite Internet people, Elyse Myers, says - Great question, I would love to tell you.
This photo was taken before I washed out the marking lines.
5-colour small throw Aperiodic quilt
Fabric: Art Gallery Pure Solids in swimming pool, morning frost, olive oil, peach sherbet, mauvelous, sugar plum, creme de la creme
Backing: Heirloom, garden rows in lilac, RSS
Thread: Aurifil 50 wt 2311
Walking foot quilting is a little intimidating, but practice makes perfect (or something like that). I like using smaller quilts to try out quilting motifs that are more challenging - designs with lots of turns or curves - because the smaller size makes them less bulky and so more manageable to maneuver. The Aperiodic small throw is 50" x 50," so it's a really nice size for trying something new.
I get a lot of quilting inspiration from my Walk books by Jacquie Gering. I had my eye on Starfield (pg 128, Walk 2.0) for a looong time and finally decided to go for it. The motif has ~8 sets of lines and a decent amount of marking, but it creates this really beautiful star pattern.
I'm never sure how to scale quilting motifs - the instructions will say to quilt horizontal lines, but what spacing should I use?? I knew I wanted the main quilting motif to be about the same size as the sawtooth stars in the pattern. The pattern is built on a 2.5" grid and I was originally going to use 2.5" spacing in my quilting lines to match, but then realized I would be sewing in the ditch a lot. I settled on spacing them 3.75" apart (so 1.5x the grid size), thinking that would avoid the ditch while keeping the motif roughly the same size was the star. It didn't. I screwed the math up and still ended up sewing in the ditch quite a bit. All this to say - it didn't work out as I planned, but the quilt still turned out looking pretty good!!
Photo by Jenn G. @jenng.quiltco
2-colour large throw Aperiodic quilt
Fabric: AGF Pure Solid coconut milk, sprout woven in pepper
Backing fabric: Martha collection, meadow green, Figo Fabrics
Long arming: saffron blossom panto, Jenn G @jenng.quiltco **
I don't have my quilts long armed very often because I genuinely enjoy the quilting process and want to become better at it, but also because its one more expense to add to an already expensive hobby. I decided to have this one long armed partially because I planned on selling it, partially because I really wanted to lock down the sprout woven fabric, and partially because I was in the process of moving and my sewing machine was already slowly making its way across Canada (there was an AirTag inside of its box, it really did go on a cross country adventure!).
Because I was moving out to BC, I wanted to find a long armer that was in Western Canada. I find that the Long Arm League's website is a really good starting point and ended up finding Jenn. Let me tell you - Jenn was great!! She helped me out when I started panicking that my backing fabric wasn't 4" on each side, she helped select a panto and then had me verify that I was okay with the quilting plan before she got started. For the panto, I wanted something with movement but without an obvious direction to it. We ended up going with saffron blossom and I'm really happy with how it turned out. I would definitely send a quilt to Jenn again in the future.
**Jenn offered her quilting services free of charge in exchange for crediting her work. Opinions are my own.
Photo by Jenn G. @jenng.quiltco
5-colour large throw Aperiodic quilt
Fabric: sprout wovens in marsala, sun glow, pink sand and black cherry; kona natural
Backing: Willow - tulip time, AGF
Thread: top, Aurifil 2000; bobbin, Aurifil 2325
I used Kona over my normal AGF creme de la creme because wovens tend to fray a lot and the thicker nature of Kona hid the frayed threads a lot better than a similar pure solid. No one has time to trim all the stray threads.
I had actually planned on having this quilt long armed as well because in my head if I did that, all my samples would be ready to bind by the time my sewing machine arrived in Vancouver and then I could release the pattern at the end of September. Oh sweet summer child.
This was my last sample to quilt and I was stumped. I almost went with my default basic cross hatch, but then decided to go with concentric stars. Aperiodic is based on Ammann-Beenker tiling, which actually has a centre star that the pattern builds around. Aperiodic is a snapshot of the bottom left quadrant of the tiling and the top right star in Aperiodic is equivalent to the central star in Ammann-Beenker. I thought that quilting concentric stars would highlight the importance of this star in the tiling pattern.
I also thought that doing concentric shapes would be easy and that I could just use my quilting guide to make my way around the star. I didn't consider what I would have to do once I got to one of the star points. Turns out it isn't as simple as going round and round, and I needed to figure out where and how to turn to keep the stars in a concentric configuration.
I'm a visual problem solver and as an Illustrator user, I do all of my pattern designs at scale. So if I have a 67.5"x67.5" quilt, you bet my art board is going to be that big too. And so to figure out where I needed to turn, I drew my centre star at scale and made concentric stars around it like I wanted my quilting to look like (Figure below). I then drew a line so that it passed through the same point in each concentric star (red lines below, only 2 of 16 shown). That line represented where I needed to turn while quilting to achieve my concentric stars. (This technique could also be done using paper, no need for fancy software).
But now to figure out how to actually mark that on my quilt.
To mark the line for the star points, I needed two points to align my ruler with. In my drawing, I extended the red line into the center of the star and then measured from the blue circle to the green circle where the line intersected with a seam in the sawtooth star. I marked the green circle position on my quilt using a water soluble pen and then aligning my longest ruler with the green circle and the star point (orange circle), I drew a line on my quilt top that connected the dots and extended it as far as I could.
The line for the 90 degree turns of the star was easier. For that, I aligned my ruler with the centre of the star and the blue circle and drew my line from there.
I repeated this process for each point and altogether marked 16 lines. After that, it was just a matter of quilting around the star, pivoting my quilt whenever I reached one of those marked lines. Thankfully I didn't have to bury too many threads because the stars quickly became too big to fit entirely on the quilt.
A little confused? So was I! I'm sure there was a more mathematical way of doing this, but for me, drawing out what I wanted to do helped my brain visualize the problem. My actual spacing is far from perfect, but I'm okay with that. This sample was made for my family and has become a family favourite with how cozy those sprout woven fabrics are.
Side note - I opted to use a water soluble pen as I thought that a Hera marker might distort the woven fabrics. I also can never see Hera marker lines! I've used this pen on a number of projects and haven't had any problems with it.
There you have it! Quilting is creatively tough, but it's fun to challenge yourself. My philosophy has become there will always be more quilts so sure this one might not turn out perfect, but there's always the next one.

Aperiodic Quilt PDF Pattern
C$17.00
Aperiodic Quilt PDF Pattern
If a quilt was a puzzle, this would be it
Display prices in:
CAD


