Anechoic SAL Week One: Getting started with FPP
Foundation paper piecing (FPP) is an alternative technique for piecing fabric that enables sewing precise and intricate shapes that might be challenging using traditional piecing methods. Best part is - you probably already have all the tools you need to get going.
Getting Started
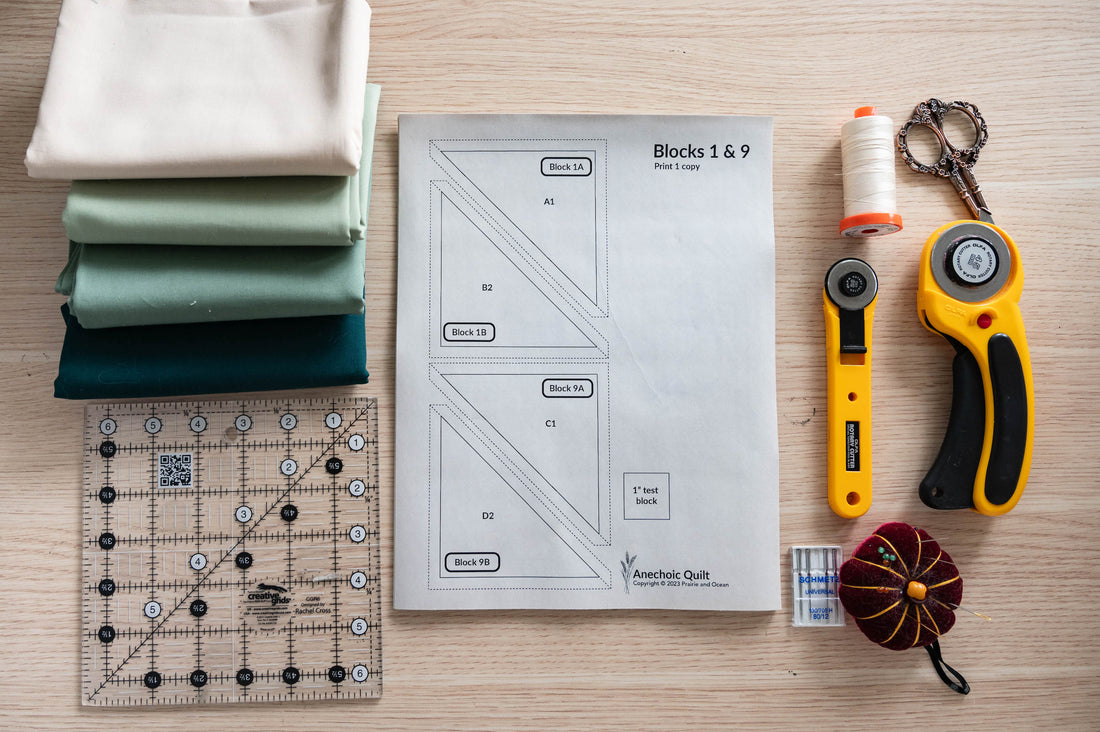
Here are some of the things I've started using that have helped me with FPP.
Rotary cutter
This seems obvious - we need to cut things! But why are there two in the photo? I use the tiny one for doing any paper-related cutting so that my main rotary cutter blade stays nice and sharp for cutting fabric. You could also designate a blade specifically for paper and swap it in and out as needed.
Needles
Likewise, sewing through paper will dull your needle quicker than normal. I use a designated FPP needle for all my paper sewing, and then if I switch to a non-FPP project, I'll swap out my needle to one that hasn't seen paper before.
Paper
Any old computer paper will work, but there are pros and cons to using it.
- Pro: It's readily available and pretty affordable.
- Con: I find it harder to remove. This can be mitigated by using a shorter stitch length, creasing the paper back and forth a couple of times before ripping, etc. I use a lot of AGF fabric, which is thinner a lot of quilting cottons, and found that my stitches would get pulled a lot when removing the paper.
Preparing Your Templates
Printing
Make sure that your printer hasn't scaled the page and is set to Actual Size. Do a test print with the Blocks 1 and 9 page and check that the 1" test square is actually 1" x 1."
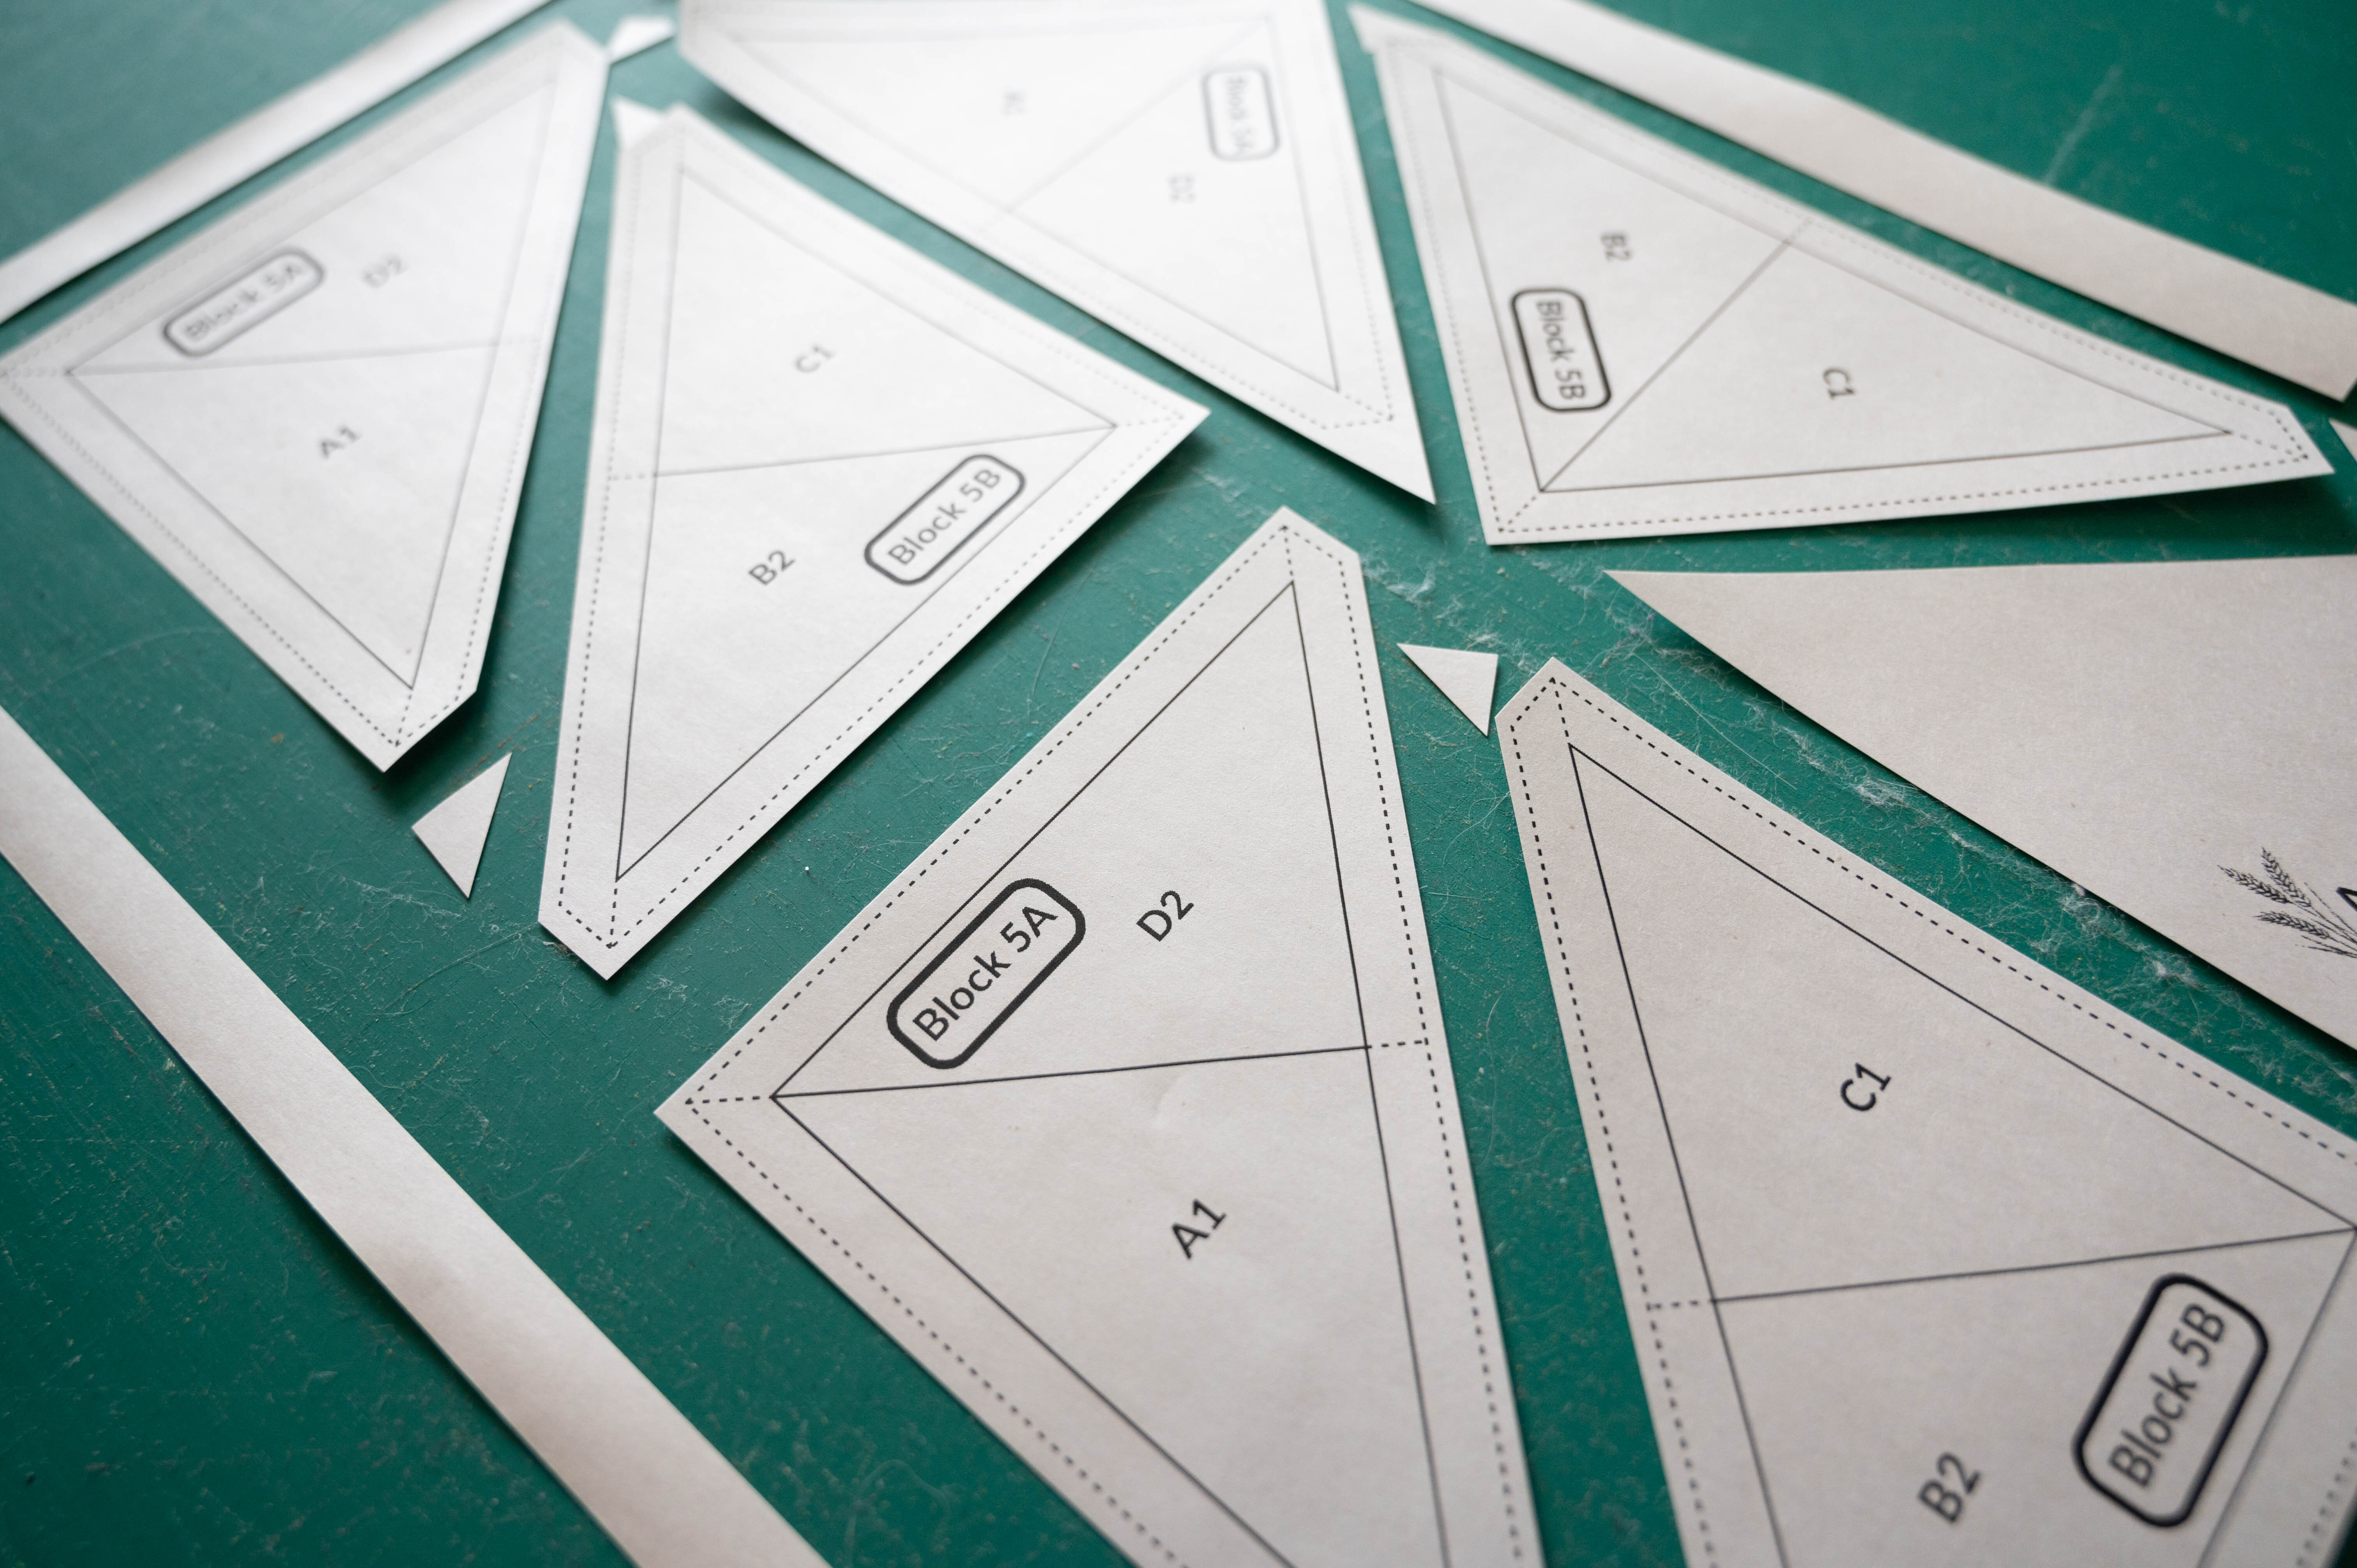
Cutting
Using your rotary cutter or scissors, cut out your templates. Leave only a smidge of paper on all the sides of the template, it doesn't have to be exact. It's up to you if you want to take the little triangle corners off. Just make sure you leave the dashed line that represents your 1/4" seam allowance.
Fold Your Template
I like creasing my template fold line at this stage because it makes assembling the templates faster down the line.
Use your ruler to fold back the template along the line separating the two fabrics. You only need a gentle crease line here, nothing intense.
Happy template prepping!